Would you like to see an example of an A Level Film Lesson from Edusites Film?
Below is a link to a single lesson online slide show focusing on Cinematography using The Bourne Identity. The Cinematography lesson from both the teacher guide (scheme of learning) and student workbook are below to illustrate the breadth and depth of the resources being published on Edusites Film.
For fast and optimum viewing use Safari, Firefox or Internet Explorer browsers.
Example guidance for teachers
Lesson Seventeen: Cinematography
Slides 1-12
Objectives
- Knowledge : To review understanding of the film framework
- Learning : To build ideas and strategies of how to study film
- Understanding : To link knowledge and learning by completing analysis tasks
Starter/Loop Activity (5 Minutes)
Slide 2 Task 17A Students asked to respond to the task from the Lesson Resource: Analysis of still image from Bourne Ultimatum. Students to write response in books/ folders.
Prepare the Learning (5 Minutes)
Share the objectives. Remind students of the objectives we are working towards meeting. (1) Feedback as appropriate on the starter task as directed Q&A – no hands up policy here, please. (2) Feedback on work last lesson and (3) any feedback from assessment of the home learning tasks set thus far.
Construct the Learning (20 Minutes discussion, paired task, Q&A)
We need to introduce a little more detail of how to apply some of the specific learning of the film language elements to exam responses that focus on representations.
Slide 4 Offers some potential exam tasks and how these might involve the notion or hypotheses of representations.
This lesson has a focus on cinematography. Slides 5-8 review the learning from last term/last unit Edusites A Level Film Language+.
These slides add up to a very effective revision checklist and a pop quiz Q&A on these is really useful here, to check the learning, but more so the understanding acquired and where the gaps are that will require your focus.
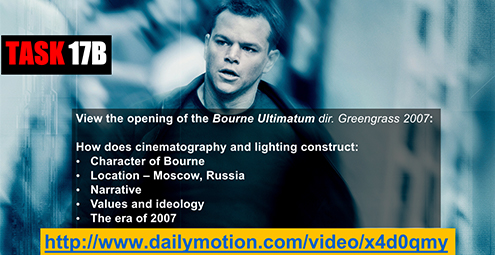
Slide 10 Task 17B Use the Bourne Ultimatum clip. This is an excellent example of some of the editing techniques we will be referring to in a later session as well as offering some excellent film techniques in a mainstream Hollywood product. Greengrass has long been a touchstone for applications of film language ideas for our lessons.
Application of Learning (25 Minutes view clip, individual work on task, feedback)
Slide 11 Task 17C As previously, set the task and then you will need to coach/consult as this will depend on the films selected by you for the group to study. Use the Edusites Single Film Case Studies (see the menu on the left to preview all our Eduqas and OCR Film Case Studies currently available) to support you in this.
Plenary/Closing the Loop (5 Minutes feedback to class) Check the learning. Home learning - set deadline for task.

Example guidance for students
Lesson excerpt from Student Workbook
Lesson Seventeen
The element of what we might refer to as the in the frame representation is a vital issue. Here we are concerned with how the image is lit, shot and framed.
This is very much the selection of the director and cinematographer. The collaborations of DW Griffith with Billy Bitzer, Orson Welles with Gregg Toland, Arthur Penn with Burnett Guffey etc. all constructed the meaning/response of the ground-breaking films they worked on.
The representations created in the frame were later enhanced and developed by post-production editing, but remain a key element for any evaluation of the films you have selected to study.
Think carefully about the use of camera techniques of proximity and angle:
- What does a shot help to tell us about the character? The use of a close up accentuates an actor’s character and mood. A high angle show might make them appear weak and powerless.
- A long establishing shot might represent the bleakness of a world or the grandeur.
- A long shot of a march might convey the power of an idea to inspire – the close-ups of the crowd might convey their passion.
- The movement of the camera – a steadicam shot that conveys intensity of actions.
- The depth of focus that directs attention to an action the director wants us to see.
When writing about the use of camera techniques, think about how the following techniques have been used:
- Camera movement: Crane, dolly, dolly in, dolly out, handheld, pan, pedestal, point-of-view shot, static, steadicam, tilt, tracking, whip pan, zoom.
- Shot size: Extreme long shot, long shot, full shot, mid shot, close up, extreme close up.
- Camera angle: high angle, eye level, low angle, canting.
- Focus: Deep focus, depth of field, pull focus, shallow depth of field.
Although the lighting in a film appears natural, filmmakers have spent a good deal of time to achieve a particular lighting effect.
Lighting is a key element in making a significant and meaningful contribution to the narrative. Directors and cinematographers consider the quality and placement of lights and how this contributes to narrative, character development, and audience engagement.
- When analysing a scene, think about the use of lighting and what it tells the audience about a character.
- What type of light is used? Natural, fluorescent, incandescent?
- Is it diffuse or hard light?
- Where is the key light placed in the scene?
- What sort of shadows are cast by the key light?
- What do these choices tell you about the representation of a character?

